Top 5 Cool Season Vegetables – The First to Plant In Your Garden This Spring!
 Kohlrabi
Cool Season vegetable seeds are those that can go in the soil as soon as it thaws, and the soil can be tilled. They mature during short days and cool weather. Peas, onions, and lettuce can germinate in soil temps as low as 1 degree C. Others such beets, carrots, turnips, and cabbage can be planted in soil as low as 5 degrees C. Some varieties of lettuce and spinach will bolt or go to seed quickly in hot weather. The leaves will become very bitter.
Some cool season crops that are quick growers can be planted in the fall as well. These would include radishes, spinach, and lettuce. There are many seed varieties on the market now that do not bolt or are slow to bolt. This is usually noted on the seed packet itself.
Another reliable item to purchase in the early spring is floating row cover. This lightweight, semi-transparent spun material keeps out late frosts and flying insects that may affect your crops. Keep the floating row cover pinned down at the edges with soil, leaving enough play in the fabric for the plants to grow. The row cover can be used over and over again.
Prepare your vegetable garden as soon as the soil can be worked. Most cool season crops do well in a compost amended, fertile soil that has good drainage.
To Follow:
Our top five cool season vegetables to plant in early spring.

Radish
Radishes are an easy to grow vegetable that have a very zesty taste raw in salads and on their own. They contain Vitamins C, B6, K and calcium. You can pickle radishes, and even roast them with other root vegetables.
Radishes prefer to grow in a slightly acidic to neutral tilled soil. (pH 6.0 to 7.0). If you have some wood ash, work a bit into the radish soil. This helps to deter root maggots. Direct seed radish 4-6 weeks before the average date of the last frost. After planting your seed, water them in with a 10-10-10 all-purpose water-soluble fertilizer. Do not fertilize them again. Thin the plants carefully once they reach a height of 5-8 cm.
To have a continual supply of radishes, plant some seed every 10 days or so. This is called succession planting.
Keep the soil moist but not soggy. Continuous soggy soil will cause the radishes to split and crack. The radishes may bolt if the soil becomes too dry.
Radishes are rapid growers and are ready to harvest when the roots are about an inch in diameter and showing through the soil’s surface. This is usually about three weeks after planting.
Once washed, you can store the bulbs in a plastic bag with a wet paper towel wrapped around them. Do not eat the leaves.

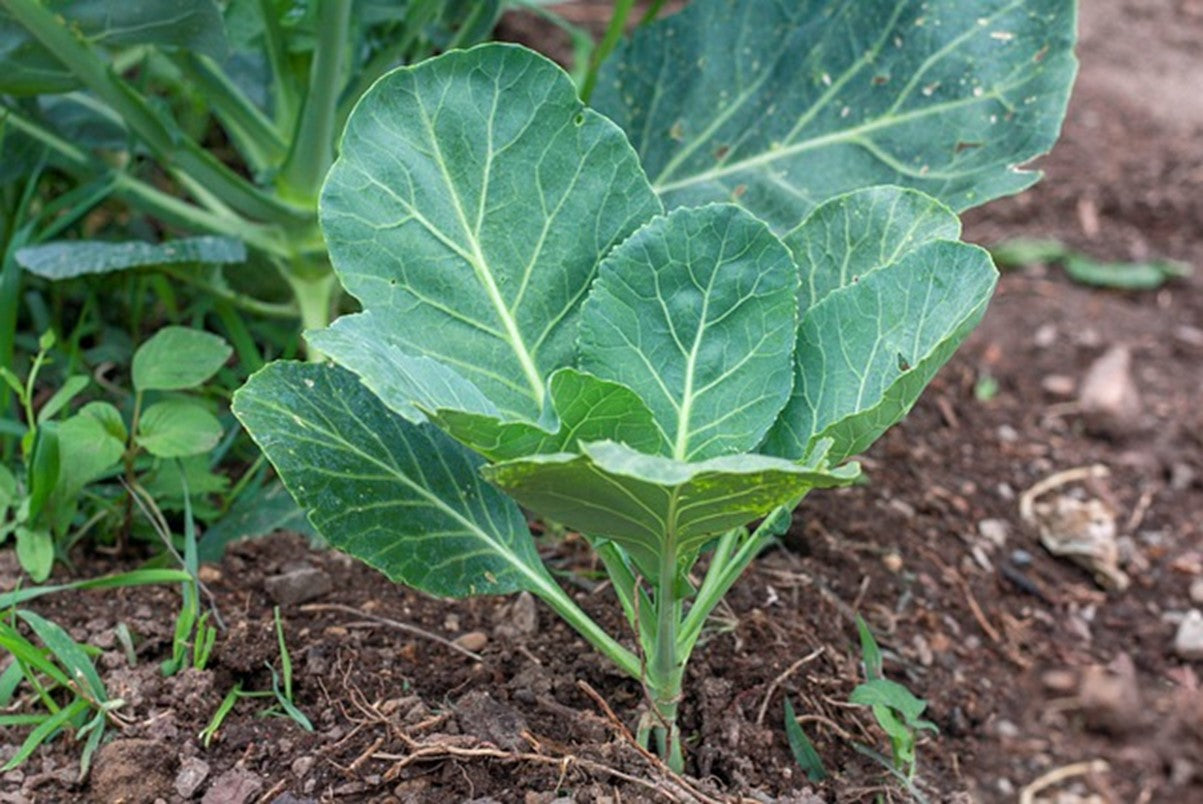
Kohlrabi
Kohlrabi (raw or cooked) is a very popular delicious vegetable that belongs to the wild cabbage family. As the picture shows, the lower stem is swollen and grows above the ground. The stem tastes like a very mild onion and the peeled stems of broccoli. The leaves taste like a mix of collards and kale.
Kohlrabi is low in calories, contains folic acid, vitamins A and C, calcium, and potassium. It is used in salads, cooked or raw on its own.
There are white, light green and purple cultivars available.
Kohlrabi likes a mildly acidic, humus rich soil (pH 6.0 to 6.8) in a sunny location. Avoid planting the seed after mid May. Keep the soil moist but not soggy.
Plant kohlrabi seeds 3-4 weeks before the average last frost date. Avoid planting seed after mid May. The plants will mature in 45-60 days. Check the informative seed packets for seed planting depth and spacing. Thin seedlings to 20-30 cm. apart. Transplant thinned seedlings to another part of the garden or use them in salads and stir fries.
Companion plant with beets, brassicas, cucumber, and onion. Do not plant near peppers, pole beans, strawberries, and tomatoes. Keep the soil evenly moist. Feed once a month with a plant start fertilizer or a balanced organic fertilizer. Or mid season side dress rows with compost.
Harvest before temps reach 24 degrees C. Kohlrabi seed is usually viable for 3 years.

Swiss Chard
Swiss chard is a member of the beet family. It is high in Vitamins A and K. It also contains folate, nitrates, and trace amounts of Vitamins E, C, iron, magnesium, phosphorous and potassium. The stems and leaves can be eaten raw or cooked. It is stronger in flavor than spinach and is used in salads, soups, and stews.
Swiss chard comes in colors of dark green, white and the multi-colors of the popular Bright Lights variety. Grow swiss chard in a sunny to part sun location.
Plant swiss chard seeds 2-3 weeks before the last spring frost date. Be aware that they will grow quite quickly in cool weather and slow down in the summer. For a fall harvest, plant swiss chard seed about forty days before the first fall frost date. Pre-soak the seed in water for 24 hours to speed up germination.
When the plants are 4-5 inches tall, thin them to 6 inches apart with scissors. Use the cuttings in a tasty salad! At one foot tall, harvest outer leaves only to encourage new leaf growth from the center of the plant. Regular harvesting will encourage the plant to produce continually.
Water consistently and of course, more often in dry weather. Begin to fertilize every two weeks when the plants reach 5-6 inches in height with an all- purpose water-soluble vegetable fertilizer.
Once you harvest the leaves, be sure to thoroughly wash them. Wrap loosely in a damp paper towel and store in an unsealed bag in the fridge crisper. Swiss chard leaves will keep for a few days to a week.
Swiss chard has few pests but are sometimes bothered by aphids, leaf miners and slugs.
Many gardeners find that Bright Lights Swiss Chard has landscape value; it is used in mixed container plantings and in flower beds.
FYI:
Swiss Chard does not come from Switzerland! Swiss Chard and its Latin scientific name were determined by a Swiss botanist.

Spinach
The dark green leaves of spinach are packed full of nutrients and are used in salads and cooking. It is an excellent vegetable for seeding early in raised beds or deep planters.
Sow spinach seed as soon as possible in the spring as it germinates and grows very well in cool weather with short days. Spinach will bolt and go to seed as the days become longer and warmer. There are some varieties that are slower to bolt and that should be stated on the seed packet. Spinach plants are heavy feeders and grow best in nitrogen rich soil at a pH of 6.0-6.5. Amend the garden soil with compost. Spinach plants have a tap root so loosen the soil up to a foot down before seeding.
Plant spinach in a vegetable garden location that is sunny to partly shaded. Direct seed in small amounts every ten days until mid May. The seeds should sprout in 7-14 days.
Spinach grows from a central point, so you can harvest some leaves from any plant that has at least six – 8-10 cm. long leaves. Harvest leaves from the outside in and cut off within 2 inches of the ground.
Pest such as slugs can be a problem.
As with other cool weather crops floating row cover is very effective in stopping leaf miner larvae. They produce tan patches on the leaves. If they do affect your spinach remove and destroy the affected leaves. Aphids spread spinach blight which causes yellow leaves and stunted plants. Downy mildew can also be a problem during very wet weather. Always water your spinach at ground level – never overhead water.
FYI:
Spinach seed does not keep very well. Buy new seed every year.
Collard Greens
You may have thought collard greens were predominately a southern vegetable, but you can grow them here in Saskatoon! They are a cool season vegetable and can be started early in spring and planted again in late summer for a fall crop. Light frosts will actually improve the flavor.
Collard greens are a source of Vitamin C, K, A, beta-carotene, and fiber. They can be used in soups, stir fry’s, pesto, and chili.
Plant collard seed early in spring in a sunny area in moist, fertile soil. Again, soil amended with compost is the best. At maturity, collard greens are large, and you will need to allow at least two feet between rows. Thin seedlings to 18 inches apart. Add thinned seedlings to soups and salads.
Collard greens will bolt in the heat of summer so harvest leaves before this happens. The leaves can be picked at any time from the bottom of the stalks and up. Collard greens stalks are not edible.
Pests such as aphids and cabbage loopers will congregate on new leaf growth and eat holes in the leaves. Again, floating row cover will help keep these bad guys away.
