Grow Your Own Culinary Favourites – Basil and Rosemary!

During the February 2021 deep freeze I continue to think positively by looking forward to summer and barbecue season! In this DIY second blog for March I I hope to give you some guidance on how you can grow two culinary herbs used not only during the summer for barbecues but all year long in too many great recipes to mention. Basil and rosemary are worldwide favorite herbs and they are surprisingly easy to grow. Let’s take a look!
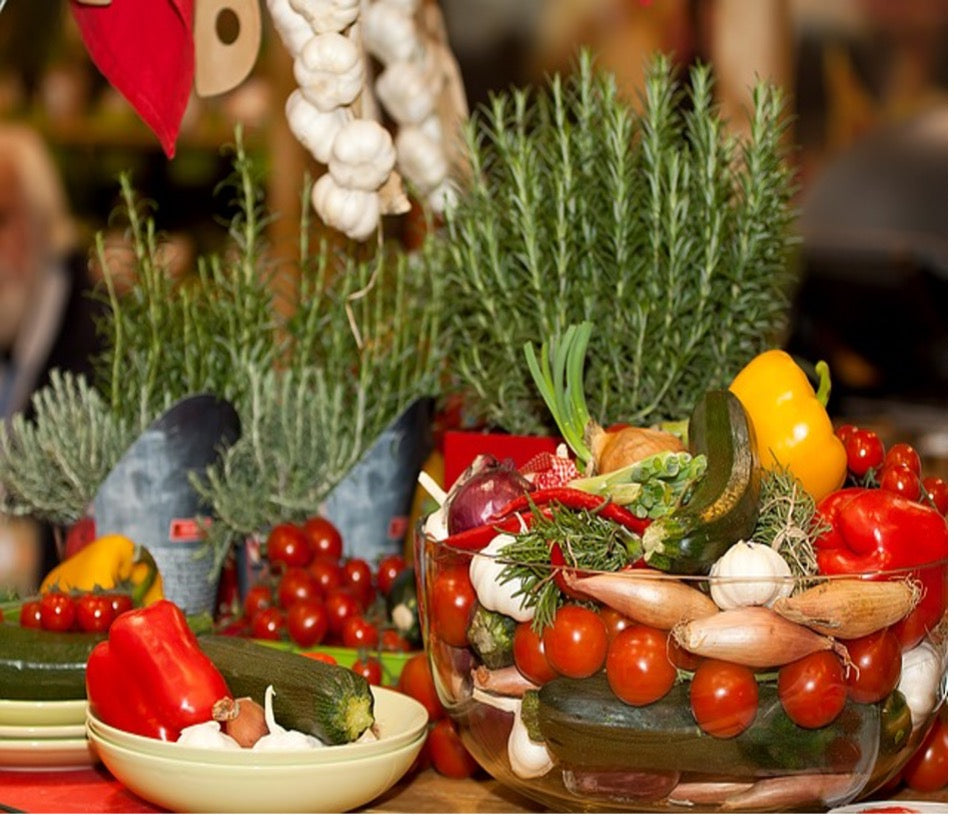
Basil – (Ocimum basilicum)
Basil belongs to the mint family and can be grown outdoors and inside during our winters in Saskatoon. This herb not only smells and tastes good, it provides us with the nutritional value of vitamins C, K, B6 and A. It is also a good source of Omega 3 fatty acids, iron manganese and magnesium. The leaves are full of flavor enhancing pestos, salads, bruschetta, and spaghetti sauces. The flowers can be used as a garnish or in salads and oils.
There are many varieties of basil. The most popular is Sweet Basil (Genovese). Other favorites include purple, lemon, lime, Thai, cinnamon and spicy globe just to name a few! All have their own unique basil flavor and the flower colors include white, pink and purple. One of my favorites is spicy globe which is packed full of basil flavor. It is a small plant that is perfect for small containers or spaces.

Basil has a packaged seed life of about 3 years. Start basil seeds indoors about 6-8 weeks before the last spring frost date. To be safe, this is usually May 31 on the prairies. Do not rush putting basil transplants outdoors. Night time temperatures should be at least plus 10C. Without heat, basil will not grow or not grow well. Because of this, I like to plant my basil in pots so they can be kept close to the back door which faces south. Makes it easy to harvest quickly and can be moved inside during stormy weather.
Start basil seed in four inch pots in a half and half mix of seed starter ‘soil’ and a rich organic black soil. This reduces transplant frequency. It is important to use pots with good drainage. Plant a few basil seeds in each pot and put them in a grower tray to catch water. Cover the seeds lightly with soil, gently moisten with warm water and cover with a plastic tray dome. Place the tray in a warm room. At this point light needs do not matter as basil will germinate in the dark as well as light. Do not water again until the seeds have germinated. I have used heat mats in the past with great success to help the germination process. I had almost a 100 % germination rate and enough basil seedlings to fill a small greenhouse! You do not need a heat mat though as just a warm location that is around 15 to 21 degrees C in your home is enough.
Check daily for germination and once the seeds have germinated, remove the dome. Place the pot tray in a sunny windowsill. Basil needs at least 6 hours of sunlight per day.

Keep the soil moist but not soggy. Once the plants have a set or two of true leaves* pinch all but the two strongest seedlings off at soil level. This avoids disturbing the roots. When you have 3-4 pair of leaves, fertilize with a very weak all- purpose fertilizer solution. When the seedlings have 6 to 8 leaves also pinch each plant back to just above the second set of leaves. This encourages the plant to produce more leaves and fill out. Once the four inch pots have filled out, you can transplant the basil into their final summer pots. Use a compost rich soil and containers that have good drainage. When the weather is warmer (first part of June) place the pots outdoors to harden off for one week in a sheltered location. Bring inside at night. With each 6 to 8 leaves on a branch pinch back to the stems first set of leaves. If the plants begin to show signs of budding and flowering, pinch-off the flower buds.

If a basil plant is allowed to flower, it will turn the leaf flavor very bitter. Harvest leaves early in the morning if possible. The oils in the leaves are at their peak during this time.
Once the basil plants are hardened off, place them in a sheltered location that receives 6-8 hours of sun per day. You may need to provide a bit of shade from the mid- day sun. Again keep the soil moist but not soggy. Water in the morning at soil level. If you have used a good quality soil mix there will be no need to fertilize. Too much fertilizer will kill the plant’s flavor. Keep pinching off leaves so the plant keeps growing. Check daily for water needs. Do not use insecticides during the growing season.
I’m of the opinion that you can never have enough basil but unless you have friends and relatives that can use some, you will have to store the excess. The best storage method to keep the flavor is freezing. Wash the leaves and stems and let them dry. Place in a freezer bag and freeze.
Basil can also be grown inside on a sunny windowsill or under grow lights during the winter. Plant growth in a windowsill location will definitely slow down due to short winter day length. When a seed germinates, the first set of ‘leaves’ are called cotyledons; the next set of leaves and following plant leaves are called true leaves.
Rosemary (Salvia Rosmarinus)
formerly known as Rosmarinus officinalis.

Believe it or not, rosemary also belongs to the mint family. It is a fragrant perennial evergreen herb that originated in the Mediterranean. Flower color can be white, pink, purple or blue; depending on variety. It was used by the Greeks and Romans to fend off evil spirits. We use it as a culinary herb for grilling meat, fish and making focaccia bread.
Rosemary is notoriously difficult to start from seed. The germination rate is very poor. For that reason rosemary is usually started from stem cuttings.
Prepare a grower tray with four inch pots as per basil but mix up equal parts of perlite, vermiculite and peat moss. Moisten this soil mix with warm water but it should not be soggy.
Snip off a few 3 inch pieces of rosemary from the tips of the mother plant. You may have to buy a few four inch pots from Floral Acres if this is your first year growing rosemary. By the end of the summer you will have one or more mother plants to bring inside and use for propagating next spring!
Remove the leaves on the bottom 2/3 of each cutting. Rubbing the leaves along the stem will easily remove the leaves. Dust each bare stem with Stim Root number 1 rooting hormone. A very light dusting is adequate. Insert one or two stems in each four inch pot. Mist top of soil with warm water and cover with a dome or a plastic bag until roots begin to form.

Place in a bright light location- no direct sun. Check daily for water needs and root growth. There is no need to fertilize rosemary at any time during its growth.
Once there is some root growth, remove the tray cover and place in a sunny south window. Monitor for water needs as usual. Do not overwater as this will cause certain plant death. After the last spring frost date you can transplant your cuttings into their summer pots and harden them off in a sheltered location. Use a sandy, well- draining soil. Terra cotta pots* are the best for holding rosemary plants as they allow the root system to breathe. During this establishment period make sure you check for water daily. Rosemary does not give any visual clues that it needs water. Wait until the top 2” of the soil is dry and then water. Once the plants have rooted well you can cut back on watering frequency. Rosemary is drought tolerant once established. Place in a full sun location that receives 6-8 hours of direct sun per day.
Once the plants have started their summer growth you can harvest as much as 1/3 of the plant at a time. Harvest the tips of the stems and make the cuts just above a leaf joint. The best leaf favor is just before flowering. Rosemary flowers are edible and best eaten fresh. They have a slightly sweet and mild flavor.

Rosemary can be stored by drying and stripping the leaves off the stems when dry. It can be dried on paper towel, in a food dehydrator or bundled and hung to dry. When leaves start to fall off the stem it is dry enough for storage. It will retain its wonderful fragrance even when dry but do store in an airtight container.
Rosemary is a perennial so your pots can be brought inside for the winter for a rest. Keep in a warm room in a sunny window. Reduce watering frequency as the plant will grow very little during the winter. The following spring you can take cuttings and repot your mother plants. Rosemary leaves will begin to yellow when the plant is root bound and needs to be repotted.
*When using terra cotta pots, soak them in water for a few hours before filling with soil. This will prevent the pots from wicking away the water from the soil after planting.